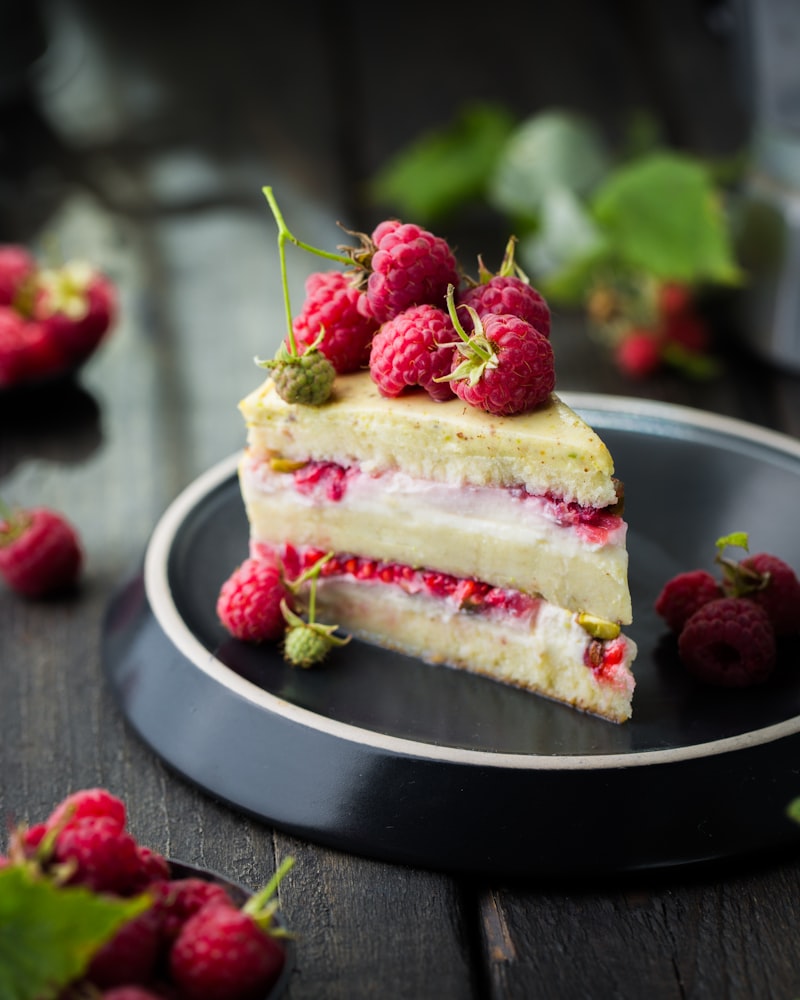
Bake this irresistible Sticky Rice Cakes at home. Made with rice flour, rice flour, salt and water. Easy step-by-step instructions included.
This Sticky Rice Cakes relies on simple, everyday ingredients such as salt, water and canola or other neutral oil. It comes together quickly and makes 4 servings, at about 342 kcal each. The step-by-step instructions below are written to be easy to follow, even on a busy day.
Whether you're rounding off a family dinner, bringing a treat to a gathering, or simply satisfying a sweet craving, this Sticky Rice Cakes delivers. Serve it warm or at room temperature, and add a scoop of ice cream or a spoonful of whipped cream for an extra-special finish.
Updated Jun 30, 2026
-
1
In a bowl, stir together the 2 rice flours and the salt.
-
2
Make a well in the center, pour in the water, and stir with a spatula until a clumpy dough forms.
-
3
Then, use your hand to knead the dough into a rough mass.
-
4
Turn out the dough and all the unincorporated bits onto a work surface and knead with both hands into a soft , smooth ball that feels like modeling clay.
-
5
If necessary, add water by the teaspoon or a bit of rice flour (either kind is fine) to achieve the correct consistency.
-
6
To test if the dough is ready, pinch it; it should barely stick to your fingers.
-
7
Shape the dough into a log and cut it into 8 equal pieces.
-
8
Set aside for a moment.
-
9
Fill the steamer pan halfway with water and bring to a rolling boil over high heat.
-
10
Lower the heat until you are ready to steam.
-
11
Have ready a shallow bowl of water for moistening your hands.
-
12
Spread out the banana leaf circles on the work surface, and very lightly brush the top of each circle with oil (this prevents the cakes from sticking to the leaf).
-
13
To form each cake, lightly moisten your hands and roll a piece of dough between your palms into a smooth ball.
-
14
Center the ball atop a banana leaf circle.
-
15
Repeat with the remaining dough, remoistening your hands as needed.
-
16
Finish by moistening the heel of your hand and gently flattening each ball of dough into a 1/2-inch-thick disk.
-
17
Place the cakes in steamer trays, spacing them 1 inch apart and keeping them 1 inch away from the edge where condensation will collect.
-
18
Return the water in the steamer pan to a rolling boil.
-
19
Loosely cover 1 tray with parchment or waxed paper to prevent drying.
-
20
Place the other tray in the steamer, cover, and steam the cakes for 6 minutes, or until they have expanded and no longer look chalky.
-
21
Turn off the heat and wait for the steam to subside before lifting the lid, and then lift it away from you carefully to avoid condensation dripping onto the cakes.
-
22
Remove the tray and use a metal spatula to transfer the cakes, still on the banana leaf, to a wire rack.
-
23
Steam the second tray the same way.
-
24
Let the cakes cool for about 1 hour, or until they are at room temperature.
-
25
A shiny skin forms on top to make them easier to handle.
-
26
Arrange the cakes, still on the banana leaf, on 1 or more platters and place on the table with the sausages.
-
27
To eat, peel off the banana leaf from the bottom of a cake.
-
28
Lay 1 or 2 sausage slices on the bottom, or stickier side, of the cake.
-
29
Remove the banana leaf from another cake and place it, shiny side up, on top to create a sandwich.
-
30
These cakes taste best the day you prepare them.
-
31
If you have to store them, keep the cakes in pairs.
-
32
Invert one on top of another, with a piece of banana leaf between the top sides to prevent them from sticking.
-
33
Put the cakes in an airtight container and refrigerate.
-
34
Refresh the cakes in the steamer or microwave oven until hot, letting them cool before eating.
-
35
This sticky rice dough can be used to encase a savory filling of shrimp, pork, and mushroom for steamed dumplings called banh it tom thit, a traditional breakfast treat that is also great for brunch, lunch, or a snack.
-
36
Make a batch of the filling used for steamed rice crepe rolls (page 270).
-
37
Then prepare 1 1/2 recipes of the sticky rice dough, shaping the finished dough into a log and cutting it into 12 equal pieces.
-
38
To form the dumplings, have ready a shallow bowl of water for moistening your hands.
-
39
Spread out 12 banana leaf circles (each 3 1/2 inches in diameter) on your work surface, and very lightly brush the top of each circle with oil (this prevents the dumplings from sticking to the leaf).
-
40
Lightly moisten your hands, pick up a piece of dough, and roll it into a ball.
-
41
Holding it with one hand, use the fingers of your other hand to press the dough gently from the center toward the rim to create a 3-inch circle slightly thinner at the center than at the rim.
-
42
As you press, rotate the dough to make an even circle.
-
43
(It is like shaping a tiny pizza.)
-
44
Gently cup one hand and put the dough circle in that hand, placing it toward the fingertips, which will cradle the dumpling as you shape it.
-
45
Place a heaping tablespoon of the filling in the center of the circle.
-
46
Lightly press on the filling with the back of the spoon to create a shallow well; your hand will naturally cup a little tighter as you do this.
-
47
Now, use your free hand to push and pinch the dough together to enclose the filling completely.
-
48
You will end up with a ball about 2 inches in diameter.
-
49
Pass the ball between your hands a few times to smooth the surface, and then center it on a banana leaf circle.
-
50
Repeat with the remaining dough and filling.
-
51
Place the dumplings in steamer trays, spacing them 1 inch apart and 1 inch away from the edge where condensation will collect.
-
52
Steam the dumplings, one tray at a time, for 15 minutes, or until they have expanded and no longer look chalky.
-
53
Turn off the heat and wait for the steam to subside before lifting the lid, and then lift it away from you carefully to avoid condensation dripping onto the dumplings.
-
54
Remove the tray and use a metal spatula to transfer the dumplings, still on the banana leaf, to a wire rack or serving plate.
-
55
Let them firm and cool for 5 to 10 minutes before serving.
-
56
Diners can use chopsticks or forks to lift them from the banana leaf (they come off easily).
-
57
They are good as they are, but they are even better dipped into a mixture of soy sauce and black pepper.
* Per serving · 4 servings · Values may vary.
Tips for the best results
- Read through all the steps once before you start and measure out your ingredients first — it makes everything go more smoothly.
- Preheat the oven fully and bake on the middle rack for the most even results.
- Check for doneness a few minutes early — a toothpick in the center should come out with just a few moist crumbs.
- Let it cool before slicing so it sets properly and holds its shape.
- Store leftovers in an airtight container in the fridge and enjoy within a few days.
Variations & substitutions
- A good 1:1 gluten-free flour blend works well if you need a gluten-free version.
No specific allergen information. Please check the ingredient list for possible allergens.
My Personal Notes
Saved locally in your browser — visible only to you.
How did you like this recipe?
Frequently Asked Questions
This recipe makes 4 servings. You can adjust the portion size directly on this page.
You need 7 ingredients. The key ingredients include: 1 cup Mochiko Blue Star brand glutinous (sweet) rice flour, 1/2 cup glutinous (sweet) rice flour, any Thai brand, 1/4 teaspoon salt, 3/4 cup water, and more.
Yes, Sticky Rice Cakes falls under the Baking & Desserts category and is a great choice for this type of meal.
Store in an airtight container at room temperature for up to 3–5 days. For longer storage, freeze for up to 3 months — no need to refrigerate or reheat.