-
1
Set sous-vide cooker to 135 degrees Fahrenheit for medium-rare or 140 degrees Fahrenheit for medium. (Or go to DIY SOUS-VIDE ALTERNATIVE, Step 9.).
-
2
Season pork chop generously with salt and pepper, or seasonings of your choice. Seal in a FoodSaver-style vacuum packer.
-
3
Cook pork chop in sous-vide for at least 45 minutes and up to 4 hours. (If using DIY alternative, do not leave pork chop in much longer than minimum time because the beer cooler cannot maintain the temperature.).
-
4
Remove pork chop from cooker or cooler, open bag, and carefully pat dry on paper towels. (It won't be pretty, hence the next step!).
-
5
Heat oil and butter in a small skillet over high heat until foaming has subsided and butter begins to brown and smoke slightly.
-
6
Add pork and cook, turning occasionally, until well-browned on both sides, about 4 minutes total, lowering heat if butter turns black or smokes excessively.
-
7
Using tongs, lift chop and hold sideways against the skillet, pressing firmly until all the edges are browned and fat is crisped, about 2 minutes longer.
-
8
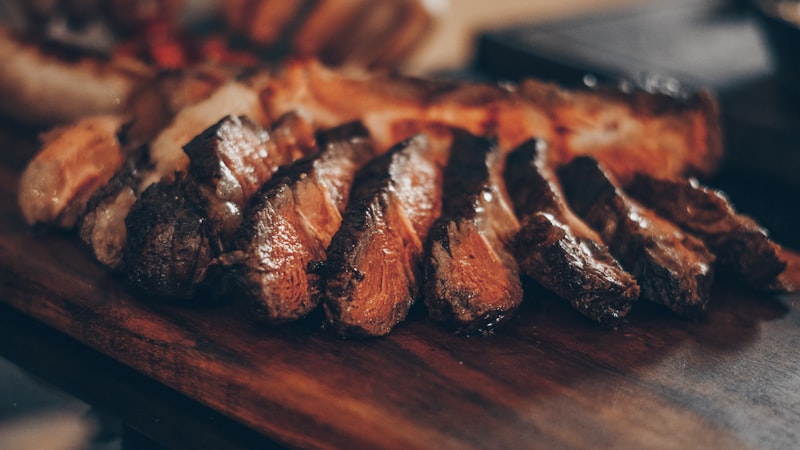
Transfer pork to cutting board and let rest for 2 minutes. Serve as-is, or carve before serving. (Kenji likes to separate the chop into the ribs, the loin, and the fat cap/deckle: with a sharp knife, 1) cut all meat off the bone, following the contour of the ribs; 2) cut through the strip of fat that separates the large eye of meat from the fatty deckle attached to the top; 3) slice both the loin part and the deckle part thinly, and split the ribs.).
-
9
DIY SOUS-VIDE ALTERNATIVE.
-
10
Fill a large beer cooler with hot water. Use a kettle of boiling water to adjust heat to 3 degrees Fahrenheit hotter than the suggested target temperature (would be 138u00b0F for medium-rare or 143u00b0F for medium).
-
11
Season pork chop generously with salt and pepper (or your seasoning choice).
-
12
Place chop in a heavy-duty zipper lock bag and seal, leaving a 1-inch section unsealed. Slowly lower into sous-vide cooker, pressing out air as you go. Seal bag completely just before the seal goes under water to completely remove air from bag.
-
13
Return to Step 3.