-
1
Preheat the oven to 400 degrees F.
-
2
Wrap the beets in aluminum foil and roast in the oven until the beets are tender and a paring knife inserted in the center is met with no resistance, 45 minutes to 1 hour.
-
3
Once cooked, set aside until they are cool enough to handle.
-
4
Then, using a paper towel, rub the skin off the beets and then cut into moons or dice.
-
5
Mix the goat cheese with the rosemary and thyme until combined and set aside.
-
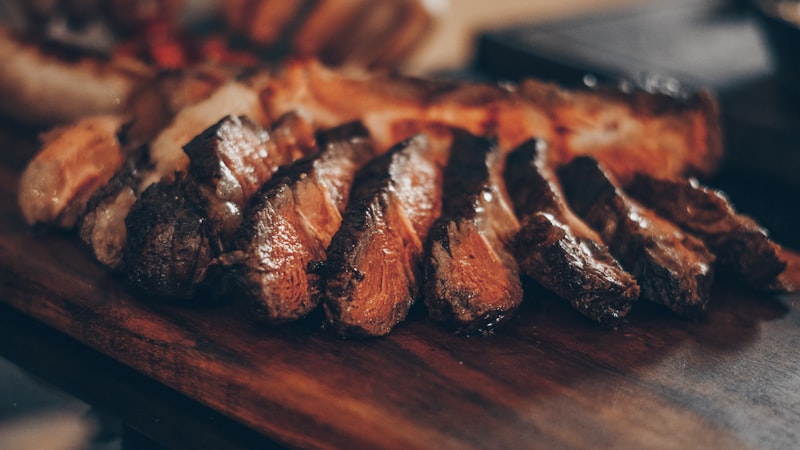
6
Gather up the rest of the ingredients and have them at the ready before you grill your bread.
-
7
Preheat a cast-iron grill pan, or a grill, to medium-high heat.
-
8
Turn the dough out onto a floured work surface and stretch and press with your hands to form a thin, rectangular shape.
-
9
If you need to, pick up the dough and let the natural weight of the dough stretch itself out.
-
10
It doesn't need to be perfect, matter of fact it is better when it's not.
-
11
Once you have the dough in the shape you like, brush one side of the dough with olive oil and lay that side down flat onto the preheated grill.
-
12
Cook the dough until it is charred and has a crisp texture, about 5 minutes, brush the other side with some oil and then flip the dough and char the second side.
-
13
Once the bread is charred and cooked, remove it from the grill and assemble the flatbread.
-
14
Spread the herbed goat cheese onto the flatbread.
-
15
Toss the arugula with some lemon juice, olive oil, salt and pepper and then place it on the flatbread.
-
16
Top with sliced beets and crispy bacon and another drizzle of olive oil.
-
17
Cut the flatbread and serve.
-
18
Cook's Notes: The time for baking the beets is dependent on the size of the beet.
-
19
Cook them just until a paring knife can easily be inserted in the flesh.
-
20
Baking your bacon in the oven on a sheet tray with a wire rack is a great way to create crispy evenly cooked bacon.
-
21
Wine suggestion for this recipe:
-
22
Merlot
-
23
In a liquid measuring cup, combine the warm water, yeast and sugar.
-
24
Allow the yeast to dissolve and bloom, about 5 minutes.
-
25
Once bloomed, add the olive oil.
-
26
Meanwhile, in the bowl of a stand mixer fitted with the paddle attachment, combine the flour and salt.
-
27
Stream in the water/yeast mixture and as the dough begins to come together, switch to a dough hook attachment.
-
28
Allow the dough to knead, adding a bit more flour if needed, so that the dough releases from the sides of the bowl, 1 to 3 minutes.
-
29
You should be able to touch the dough and not have the dough stick to your fingers.
-
30
Once the dough has kneaded and has pulled away from the sides of the bowl, remove the dough from bowl to a floured work surface and, with floured hands, continue to knead it by hand for 1 to 2 minutes.
-
31
Then form the dough into a round ball and place it into a large bowl sprayed with nonstick spray.
-
32
Cover the bowl with plastic wrap or a clean dish towel and let the dough rise in a warm area of your kitchen until it doubles in size, 1 1/2 to 2 hours.
-
33
After the dough has risen it is ready to be cooked however you'd like!
-
34
Cook's Notes: This dough is wet dough, keep bench flour at the ready and make sure to flour your hands when working with the dough.
-
35
Trust your gut as a chef, if the dough is to wet, add more flour, if it is too stiff, add a little water.
-
36
Sugar is used to feed the yeast which will help the dough to grow.
-
37
Bread flour will give you a chewier texture because the flour has more gluten.
-
38
You don't need to use a thermometer to get the water temperature, it should just feel warm to the touch.