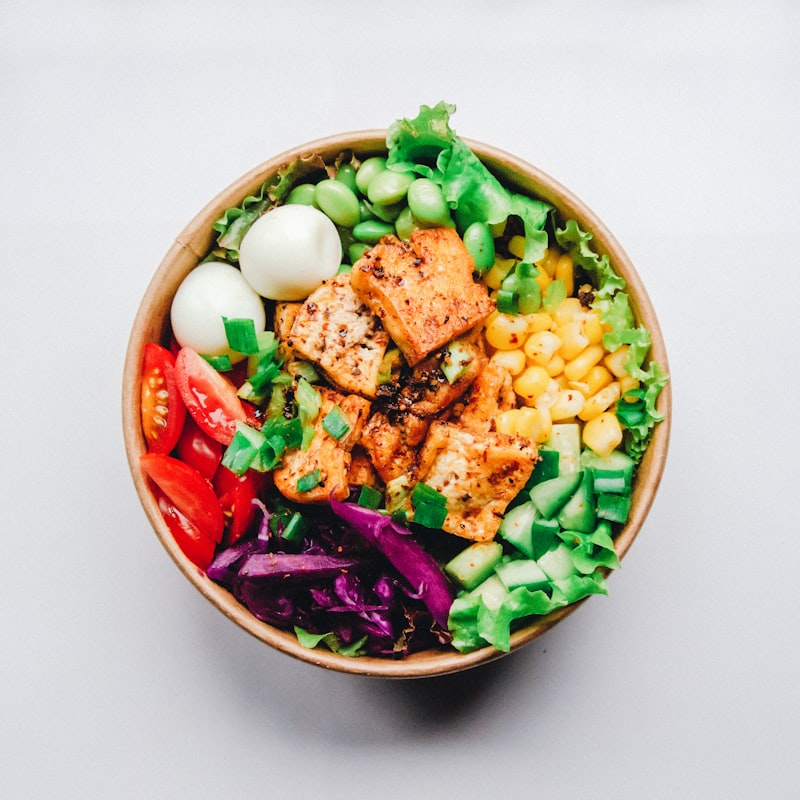
Bake this irresistible Classic Piecrust at home. Made with flour, salt, unsalted butter and vegetable shortening. Easy step-by-step instructions included.
This Classic Piecrust relies on simple, everyday ingredients such as salt, to 4 tablespoons ice water and one 9-inch pyrex pie pan. It comes together quickly and makes 4 servings, at about 185 kcal each. The step-by-step instructions below are written to be easy to follow, even on a busy day.
It's versatile enough for an easy weeknight dinner yet satisfying enough for guests at the weekend. Serve it with your favorite sides, and keep any leftovers for a quick meal the next day.
Updated Jun 30, 2026
-
1
Making the Dough: Pour the flour and salt into a 3-quart stainless steel mixing bowl and stir with a pastry blender to disperse the salt.
-
2
Divide the cold butter into 6 to 8 pieces for a single crust and scatter them over the flour.
-
3
With the blender, cut in the butter until the largest pieces remaining are the size of peas.
-
4
Divide the shortening into 6 to 8 pieces and scatter them over the butter-flour mixture; cut in with a pastry blender until the pieces range in size from bread crumbs to small lima beans.
-
5
Clean off the blender as you work, keeping pieces of fat from adhering to the blades.
-
6
Lift the flour from the bottom of the bowl with the pastry blender from time to time.
-
7
If the fats seem soft or oily at this time, refrigerate them for 15 minutes to resolidify before adding liquid.
-
8
Pour the ice water into a liquid cup measure.
-
9
Sprinkle 1 tablespoon evenly over the flour mixture, using a fork to distribute the moisture but not mixing the ingredients together.
-
10
(Move the fork in circles, scraping the bottom of the bowl and then moving it upward, lightly tossing the flour.)
-
11
Repeat the procedure, removing excess dough from the fork as it accumulates, adding 3 tablespoons liquid for a single crust or 6 tablespoons for a double crust.
-
12
With your fingertips, test to determine if the mixture is moist enough to stick together.
-
13
If it appears dry and crumbly, and reluctant to stick together, or if loose flour particles remain in the bottom of the bowl, add water, 1 tablespoon at a time, until the dough can be shaped into a single unit.
-
14
If the mixture feels sticky, dust it with a little flour.
-
15
With your hands, gather the moistened particles together, using the side of the bowl to help shape it.
-
16
Transfer it onto a sheet of plastic wrap, and form the dough into a package, using the 4 corner flaps: Alternating between opposing sets of flaps of the plastic, gently manipulate the dough into a round, flat circle.
-
17
(The plastic keeps the warmth of your hands away from the dough and provides a loose mold to help shape it.)
-
18
Once the dough is wrapped, gently massage its surface into a cohesive round, flat disk (or a flat square, according to the shape you will be rolling later).
-
19
The disk should measure about 4 1/2 inches across.
-
20
If you plan to divide the double recipe for two separate crusts or portions, do it now; form two disks, each 4 1/2 inches across, using the plastic-wrap method as above.
-
21
Storing the Dough: Refrigerate for at least 2 hours.
-
22
The dough may be refrigerated for up to 3 days at this stage, or it may be wrapped in aluminum foil and frozen for up to 1 month.
-
23
Label the contents and date.
-
24
Rolling the Piecrust: Dust the work surface with all-purpose flour in the following manner: Holding the flour lightly in your hand, sling it onto the rolling surface, crossing in front of your body from right to left (for a right-handed person) as if sowing grain or feeding chickens.
-
25
This efficiently coats the surface with the least amount of flour.
-
26
Using a paper towel or your fingers, apply a very light film of solid vegetable shortening to the bottom of the pan, but not on the sides or rim (greasing the sides encourages your dough to slip while baking).
-
27
Roll a circle of dough with even thickness.
-
28
Sprinkle the chilled disk of dough with just enough flour to keep it from feeling sticky.
-
29
Redust the work surface lightly and coat the rolling pin with flour.
-
30
(Since Classic Piecrust is higher in fat than most pie doughs, you can use extra flour in rolling to make it more manageable if necessary.
-
31
With experience, you will need less, but either way, the crust will be flaky.)
-
32
Beginning in the center of the disk, push the rolling pin away from you in one stroke, using enough pressure to extend the dough gradually.
-
33
Do not extend more than 2 inches at a time in any one direction and avoid rolling over the edges; this method helps eliminate cracking or creating too thin an edge.
-
34
If some cracking occurs when you begin rolling, simply pinch the edges together.
-
35
Coax the dough to become larger, always keeping its shape in mind.
-
36
Lift and rotate the dough a one-eighth turn clockwise (one-eighth turns keep the dough circular, one-fourth turns make it square), and repeat rolling procedures, pushing away from the center in one stroke.
-
37
Continue to lift, rotate, and roll, dusting with additional flour as needed to prevent sticking to the rolling surface.
-
38
Never turn your dough over and roll on the other side.
-
39
If the dough sticks to the work surface, carefully slide a metal spatula under the stuck portion, then lift and dust it with a little flour.
-
40
Rub off any pieces of dough adhering to the rolling pin; they could puncture the dough.
-
41
Roll until the circle of dough measures around 12 to 13 inches and 1/8 inch thick for a 9-inch pan.
-
42
A good rule of thumb is that the edge is approximately 2 1/2 inches larger than the base of the pie pan.
-
43
Lining the Pie Pan: To maintain the shape of the dough and avoid stretching it, lay your rolling pin on the top third section of the dough.
-
44
Lift the edge of that section and fold it toward you, draping it over the pin.
-
45
Roll the pin toward you, wrapping the remaining dough loosely around it.
-
46
(The ends of the rolling pin remain exposed.)
-
47
Lift the rolling pin, and suspend it about 1 inch above the farthest edge of the prepared pan.
-
48
Allowing for a 1-inch overhang, unroll the dough away from you, easing it into the pans contour.
-
49
When completely unrolled, it should be perfectly centered; if not, carefully adjust its position.
-
50
Fit the dough into the pan by pressing it lightly with your fingertips, molding it into the creases.
-
51
If it doesnt seem to fit snugly in some places, lift it gently without stretching it and lower it into pan.
-
52
Careful fitting against the pan prevents air bubbles from forming under the dough.
-
53
Should a tear occur while you are draping or fitting, patch it by overlapping the edges slightly and pressing them together.
-
54
Fluting the Edges: Fluting forms a decorative ledge, making it difficult for juicy fillings to boil over and out.
-
55
If necessary, trim the dough with kitchen scissors until you have a uniform overhang that measures 3/4 to 1 inch.
-
56
(You can use any scraps from trimming to patch a skimpy overhang.)
-
57
With the pie pan in front of you, work along a section of dough that is farthest away from you; tuck half the overhang under to form two layers of pastry as if you were preparing to hem an article of clothing.
-
58
Rotate the pan slightly and tuck another section.
-
59
Continue working in the same position, rotating the pan, until the circle has been completed.
-
60
Dip your fingertips in flour if the pastry begins to feel sticky.
-
61
Crimp the edges around the pan to seal them together.
-
62
To flute, spread the index and middle fingers of your left hand about 2 inches apart and place them against the outer edge of the crust.
-
63
Insert the index finger of your right hand into the 2-inch gap, and rest on the crust.
-
64
Using the tips of your fingers at a 90-degree angle, push the fingers of your right hand against the folded overhang until you reach the edge of the pan.
-
65
At the same time, pull gently outward with the index finger of your left hand.
-
66
This will create the fluted effect.
-
67
Refrigerate the pastry-lined pan until its time for filling and baking.
-
68
If you are partially or completely baking the pastry, place it in the freezer for 30 minutes just to firm it before you line it with foil.
-
69
(For this length of time, you need not wrap the dough.)
-
70
Baking the Piecrust: For fillings that do not require baking with the piecrust, bake your piecrust completely and separately.
-
71
This requires baking the crust blind at the beginning to hold the dough in place until it is set enough to maintain its shape on its own.
-
72
(The term baking blind applies because the crust is not visible while it is weighted.)
-
73
To blind-bake, position rack in lower third of oven and preheat oven to 450F at least 15 minutes before baking.
-
74
Remove the partially chilled unbaked crust from the freezer, and line it with a 13-inch sheet of aluminum foil, fitted into the shape of the dough.
-
75
(Firming the dough prevents the foil from making impressions in it.)
-
76
Fill to the top with dried small beans (about 3 cups), spreading and pressing them in the foil to rest snugly into the creases of the sides of the dough.
-
77
Fold the top of the foil over the beans, away from your fluted edge, to expose it to the heat better.
-
78
(The beans prevent the dough from shrinking while baking.)
-
79
Bake at 450F for 10 minutes; then reduce oven temperature to 375F for 5 minutes longer, or until the edge of the crust no longer appears shiny or raw and its shape appears to be setting.
-
80
Lift the bean-filled foil from the pastry carefully and slowly in case a portion of the dough is sticking to it.
-
81
Prick the bottom of the crust with a skewer in three or four places to allow steam to escape.
-
82
Return it to the oven for 15 minutes longer, pricking it again if necessary, reduce the temperature to 325F and bake for 10 more minutes, or until light golden brown.
-
83
Remove to a cooling rack.
* Per serving · 4 servings · Values may vary.
Tips for the best results
- Read through all the steps once before you start and measure out your ingredients first — it makes everything go more smoothly.
- Taste as you go and adjust the seasoning before serving.
- Avoid overcrowding the pan — cook in batches if needed for the best texture.
- Let the dish rest for a few minutes before serving so the flavors settle.
- Store leftovers in an airtight container in the fridge and enjoy within a few days.
Variations & substitutions
- Use a neutral oil or a plant-based spread in place of butter for a dairy-free version.
- A good 1:1 gluten-free flour blend works well if you need a gluten-free version.
No specific allergen information. Please check the ingredient list for possible allergens.
My Personal Notes
Saved locally in your browser — visible only to you.
How did you like this recipe?
Frequently Asked Questions
This recipe makes 4 servings. You can adjust the portion size directly on this page.
You need 6 ingredients. The key ingredients include: 1 cup (140 grams) unsifted all-purpose flour, 1/8 teaspoon salt, 1 1/2 ounces (2 1/2 tablespoons) unsalted butter, chilled, 1/3 cup (2 ounces) solid vegetable shortening, chilled, and more.
Yes, Classic Piecrust falls under the Drinks & Smoothies category and is a great choice for this type of meal.
Keep refrigerated in an airtight container and enjoy within 1–2 days for the best freshness. Best served cold — no reheating needed.